So, you want to know how to grow weed indoors, for the first time, on a budget. We have you covered.
*The grand total to grow 5 plants with a minimal setup is around $1000. However, this price can vary dramatically depending on the equipment used and size, and the natural advantages of the cultivation space chosen.
Step 1: Set Up Your Grow Room
The thought of setting up a grow room can be daunting, but keeping several questions in mind will make the process easier.
1. Does the space have adequate ventilation?

Plants require fresh air to fuel the process of photosynthesis. Without fresh air, your plants could starve to death. Before this happens, though, the stale air will give way to a humid and warm environment that will attract pathogens and pests that can decimate your crop.
During the flowering cycle, your plants will also give off a distinctive odor due to cannabis’ natural essential oils, or terpenes, so it’s important for the air to have an escape route.
There are several different ways to ventilate a cultivation space. You can use extractor fans, oscillating fans, exhaust systems, and carbon filters, the latter of which is used to mitigate the smell of terpenes.
However, for beginners, simply choosing a room with a window and setting up a few standard fans to cool the area and keep fresh air flowing is the best route. Keep in mind that exposed windows will leave the space susceptible to pests, so consider purchasing natural pesticides.
2. Is the space big enough to accommodate plants and equipment?
Fans and lights are bulky, and your plants will expand in width and height.
3. Do you have sufficient access to electrical outlets?
Growing even a small number of plants indoors requires a large amount of energy. Having access to multiple outlets on different circuits will help you avoid triggering a breaker switch, or worse, blowing a fuse.
4. Do you have easy access to a water source?
If you are growing in a room that requires stairs to access, hauling water back and forth can be time-consuming and exhausting.
After choosing the most suitable area for your grow room, it’s time to install the necessary equipment.
Lights
High-quality grow lights are essential to a successful harvest. There are many options on the market, so budget plays a large role in which lights are best for you, but for beginners, LED lights are generally recommended.
LED lights are a relative newcomer to the market, are cost-effective, and produce full-spectrum light. However, most don’t include UV or infrared, which will impact the yield come harvest time. The upside is that they don’t emit a lot of heat so you may not need to purchase heavy-duty cooling fans.
Using the watts per square foot method is the best way to determine how much light your grow room needs. This method says that you should give your canopy 40 to 50 watts per sq. ft. when you use LED grow lights.
Here are a few options for grow lights:
WAKYME Adjustable Full Spectrum Double Switch Plant Light
Yield
The golden ratio for the yield of cannabis buds is 1 watt of energy = 1 gram. New growers may not be able to reach this due to the other variables involved, so think closer to 0.5 grams per watt.
Depending on the strain and time dedicated to letting a plant grow during its flowering cycle, an individual plant can produce around 30 grams of flowers.
Step 2: Choose Your Seeds
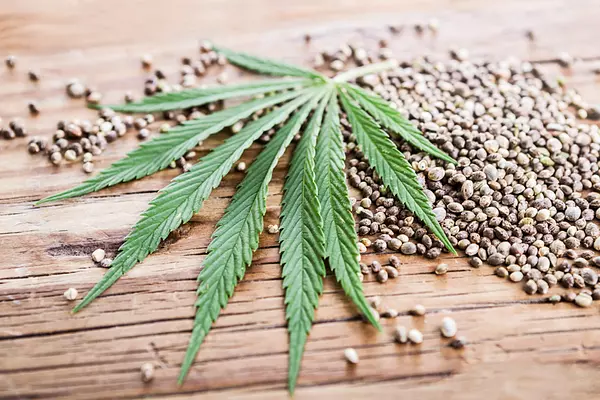
There is a lot to know about the equipment involved in indoor growing including different types of lights, fans, etc, but your chance of successfully growing cannabis goes up significantly simply by choosing the right seeds.
You can buy seeds from some dispensaries, but to make things easier, there are a few seed banks online!
There are a handful of online seed banks in the U.S., but not all of them are trustworthy. You want to choose a seed bank based on the following criteria:
- Proven Genetics (great customer reviews)
- Good variety of genetics (classics and unique strains)
- Variety of real payment methods (Credit card, Zelle, ACH, crypto, Venmo)
- Germination Guarantee
- Free cultivation from grow experts
- Excellent customer support
- Fast shipping to all 50 states
One company that checks a lot of those boxes is Homegrown Cannabis Co.

Only female plants produce flowers (buds). Feminized seeds ensure every seed germinated will produce plants that yield buds. The better the strain, the better the trichrome count and a higher terpene profile. A pack of high-quality feminized seeds can cost around $9-15 on average, which may seem high, but choosing the right seeds will make the cultivation process easier and more rewarding in the long run. Beginners may also want to consider choosing auto-flowering seeds, which change from the vegetative to flowering phase after a set period of time without the need for the grower to change the light cycle of the plants.
Top strains from reputable vendors also have a higher germination success rate and have been bred to resist fungal and bacterial infections.
If you are considering growing for the first time, the chances are you are not going to have a high yield due to space and equipment requirements. However, a low-yield harvest of high-quality flowers grown from the best seeds is always preferable to higher yields of a less viable product.
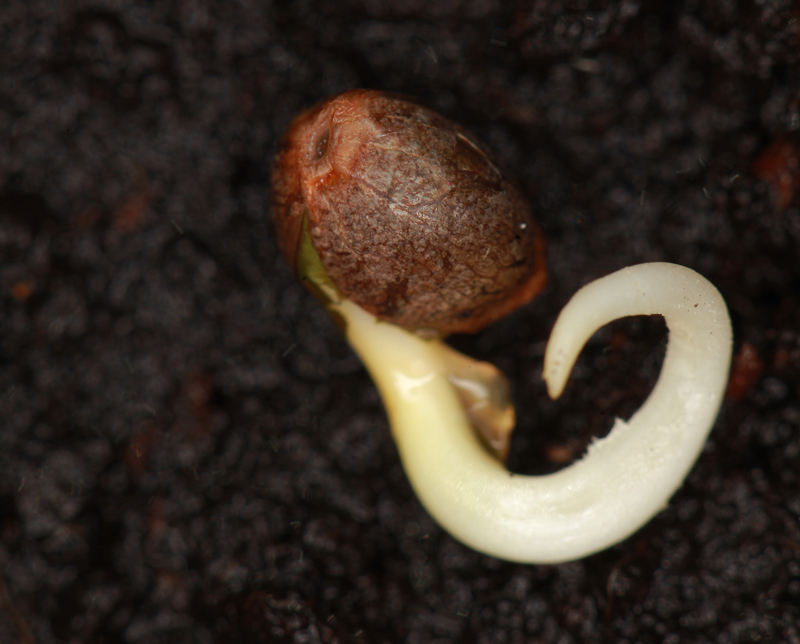
Step 3: Germinate Your Seeds
Germination is the process in which a seed sprouts its first root. You can ensure germination by using damp (but not wet) paper towels to facilitate the process. Germinated seeds have a higher chance of taking root than seeds placed directly in soil. If you’re using a company like Homegrown Cannabis Co., which has a germination guarantee, it’s best to follow their preferred methods (the paper towel method or water method).
- Place 2-3 damp (but not wet) paper towels on a plate on top of one another to create a sheet.
- Place seeds at least one inch apart on top of the paper towels
- Place 2-3 more paper towels in a sheet on top of the seeds
- Store the paper towels in a dark, dry place at room temperature.
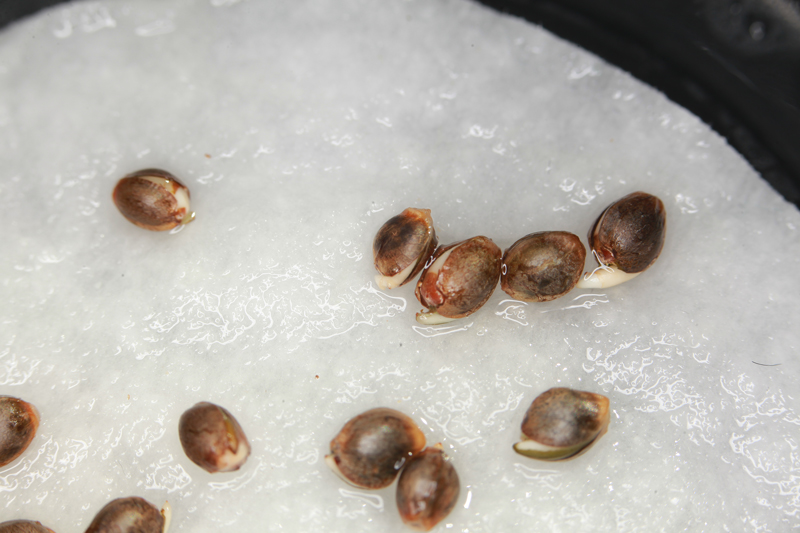
Typically, germination takes place within 2-5 days.
*Other media such as rooting cubes can be used to germinate seeds, but throughout this guide, we will stick with the most inexpensive and convenient options for first-time growers.
Step 4: Plant Your Germinated Seeds
Whether you plant your germinated seeds into their final pots or transplant them to larger pots through the growing process is a matter of preference.
Some advantages to starting small is that young plants will grow faster initially and it is harder to overwater your seedlings. The growing medium also dries out much faster in a smaller container, which means your seedling roots are always getting access to lots of oxygen at all times.

Of course, transplanting requires having incrementally larger pots on hand, and the process can be stressful for the plants, which will potentially hinder their growth. Additionally, failing to transplant your seedlings early enough can result in the plant becoming root bound, meaning the roots have proliferated to the point they have nowhere to go and do not have enough nutrients in the medium to sustain them.
The main takeaway for any planting method is to watch your seedlings closely and make sure they have enough water without being oversaturated.
Step 5: Choose Your Soil
The main takeaway when thinking about your growing medium is this: As long as the roots of your plants can access water, nutrients, and oxygen, they will grow.
Having said this, pH fluctuations are typically less severe or problematic with soil, and less plant maintenance is required. Additionally, soil is the medium of choice for cultivators who want to grow naturally and organically.
Hydroponic and aeroponic growing methods have become popular in recent years but for your first cultivation, using a traditional growing medium is recommended.
Choosing soil that has plenty of nitrogen, phosphorous, and potassium will ensure an optimal balance of nutrients. Cannabis plants thrive in a medium that has a pH of 6-7. Having a pH meter on hand will help you maintain this balance. Many commercial soils contain enough nutrients for 3–4 weeks of growth, but there are soils on the market that contain enough nutrients from seed to harvest.
Pro tip: Soil enriched with high-quality compost can increase the potency and flavor of the final product, but can also reduce the size of the yield.
Here are a few high-quality soil options:
FoxFarm FX14054 Happy Frog Potting Soil
Coast of Maine CMSBO15 Stonington Blend Organic Growers Potting Soil Mix
Super Soil Organic Concentrate (concentrate only. Additional soil media required)
Step 6: Vegetative Growth Stage
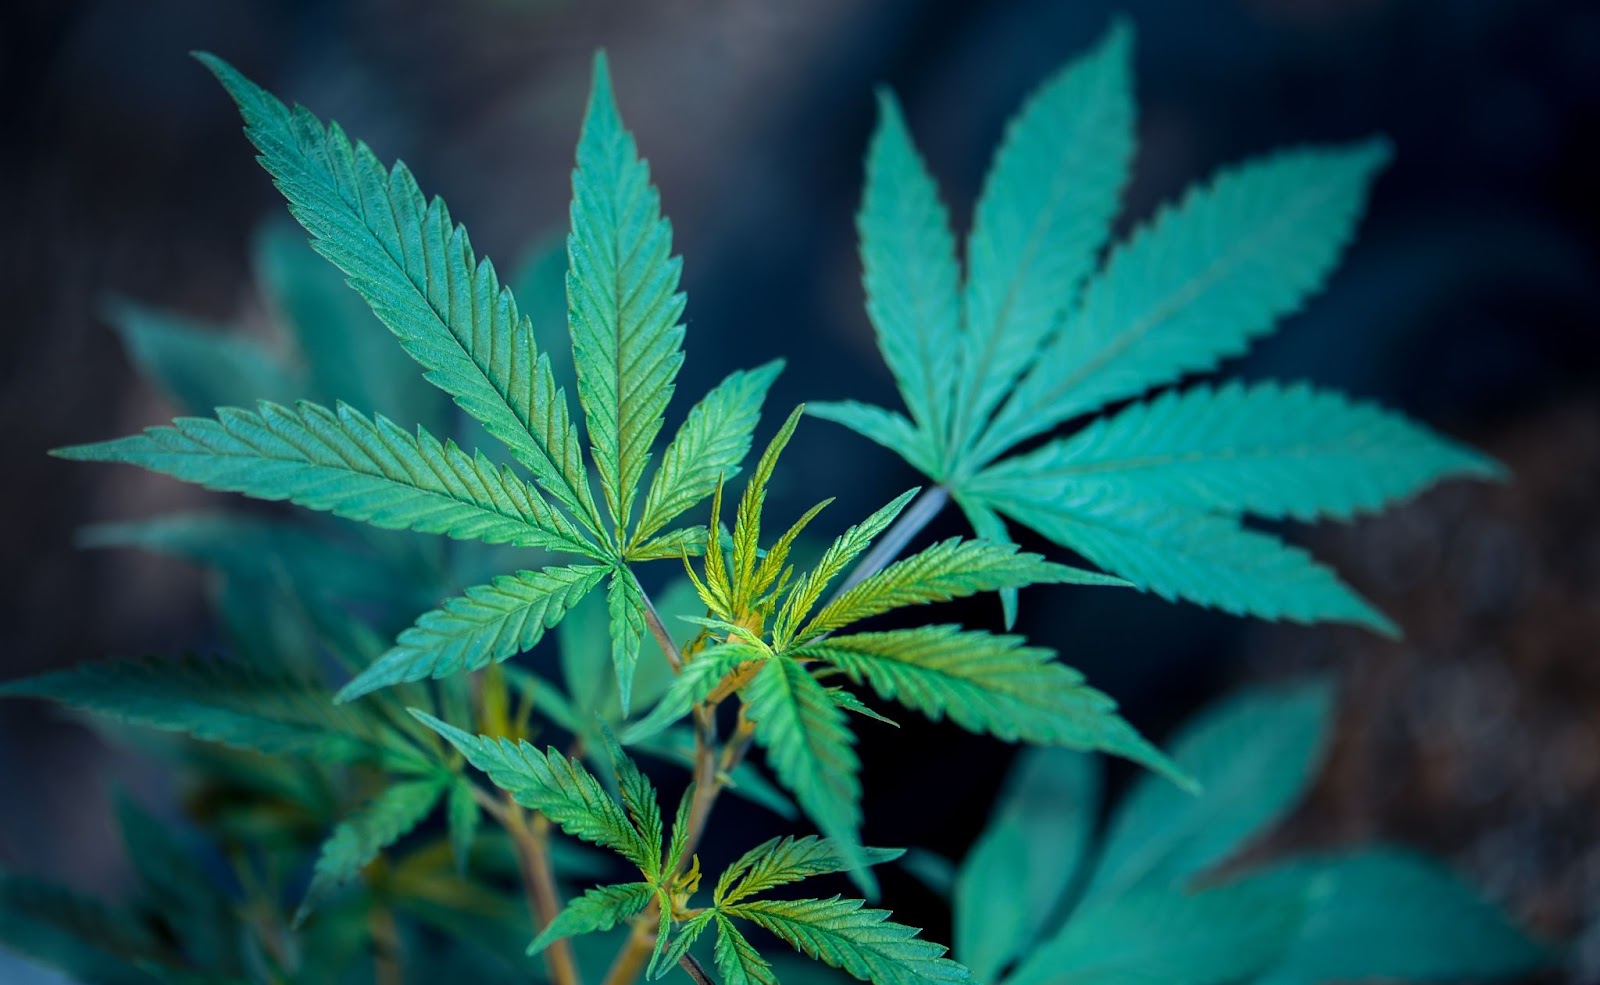
Now that you have your grow space set up and your seedlings are planted and shooting up toward the light, you can relax a little, letting your plants move comfortably into the vegetative phase. During this phase, the plants need about 18 hours of light and six hours of darkness. This light cycle mimics the spring and summer seasons when days are longer.
After a few weeks in this growth stage, lights should be adjusted to the right height. The recommended height for LEDs is 12-16 inches (30-40cm). If you hang it too close, you might burn your plants, and if too far away – you will lose efficiency.
Consider using an automatic timer for your lights so the light cycle will be consistent. Sleep in one day and your plants won’t know what time it is!
During this stage of growth, it’s possible your plants will become spindly and need the support of a trellis or pole to stay upright. If your plants are stretching beyond their natural growth rate, reduce the distance between the light and the plant. Pruning stems along the way will allow you to manage the shape and growth of the plant.
The vegetative stage can be held indefinitely (this does not apply to auto-flowering plants), but most growers don’t want to wait more than 15 weeks. It is not recommended to change the growth cycle to flowering before three weeks. Remember, the longer you keep your plants in the vegetative stage, the more robust and healthy they will be, resulting in a higher yield and better harvest overall.
Step 7: Induce the Flowering Stage
To induce the flowering stage, switch your light cycle to 12 hours of light, and 12 hours of darkness, known as a 12/12 cycle.
The flowering phase of cannabis lasts an average of 7-9 weeks. Depending on the cannabis strain you choose and environmental conditions, the time may vary.
Sativa strains have an extended flowering period of 10-12 weeks.
Meanwhile, indica strains have an average flowering period of 8 weeks. Some indica and sativa hybrids will inherit the fast-growing advantage of the indica strain, which has a flowering period that lasts only 6-10 weeks.
Around two weeks into the flowering stage, small white hairs will begin to sprout from between the leaves, followed by trichomes and resin glands.
During the last two weeks, it’s also beneficial to flush your plants in anticipation of the harvest.
Step 8: Harvesting
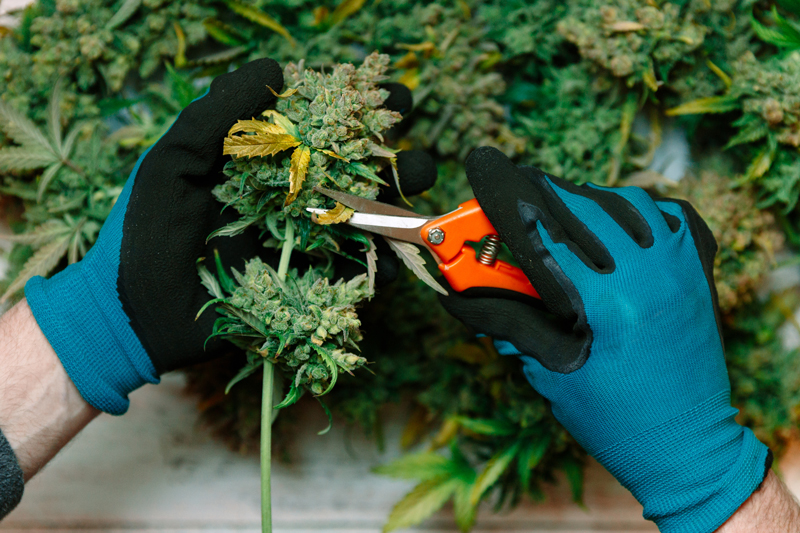
Yellow leaves during the end of the flowering phase signal that the plant is diverting all resources to the flowers.
Leaves will begin to turn yellow late into the flowering stage. This is a sign that all the resources are being re-directed to the flowers. Trichomes will also appear milky and the pistil will change from white to orange/red. Now is the time to begin harvesting.
First, cut the stalk from the root ball. Remove heavier branches, and cut the stems into a V-shape. (This will make it easier to hang the branches during the drying phase.)
Step 9: Drying
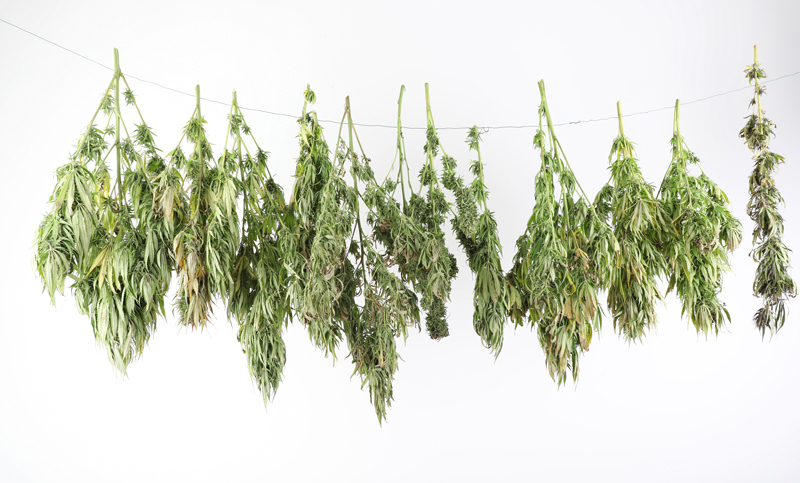
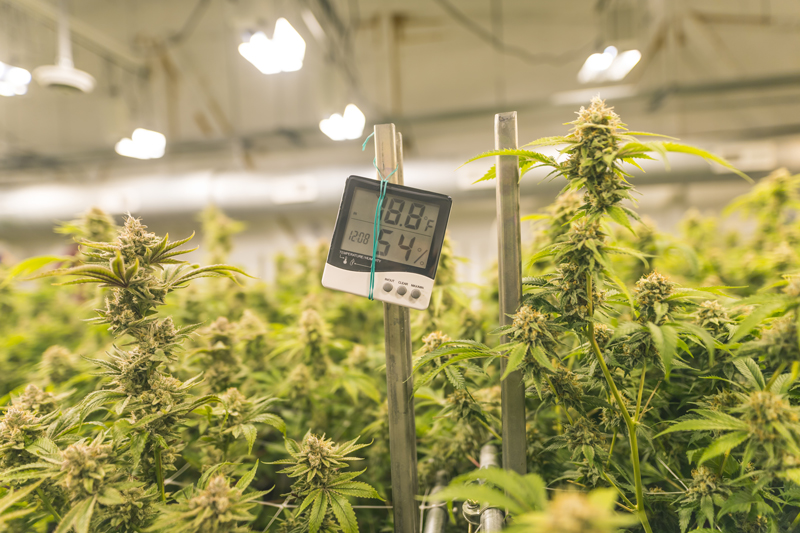
Necessary equipment includes a drying line or rack, a hygrometer (an instrument used to measure the amount of water vapor in air, in soil, or in confined spaces), and a fan. Using an air conditioner or humidifier is optional.
The hanging buds should be stored in a dark room with temperatures between 60 to 70°F and humidity between 55 to 65%.
Drying usually takes two to three days. A hygrometer can assist in choosing the right time to begin curing, but if one is not available, check if the buds are dry to the touch.
Step 10: Curing
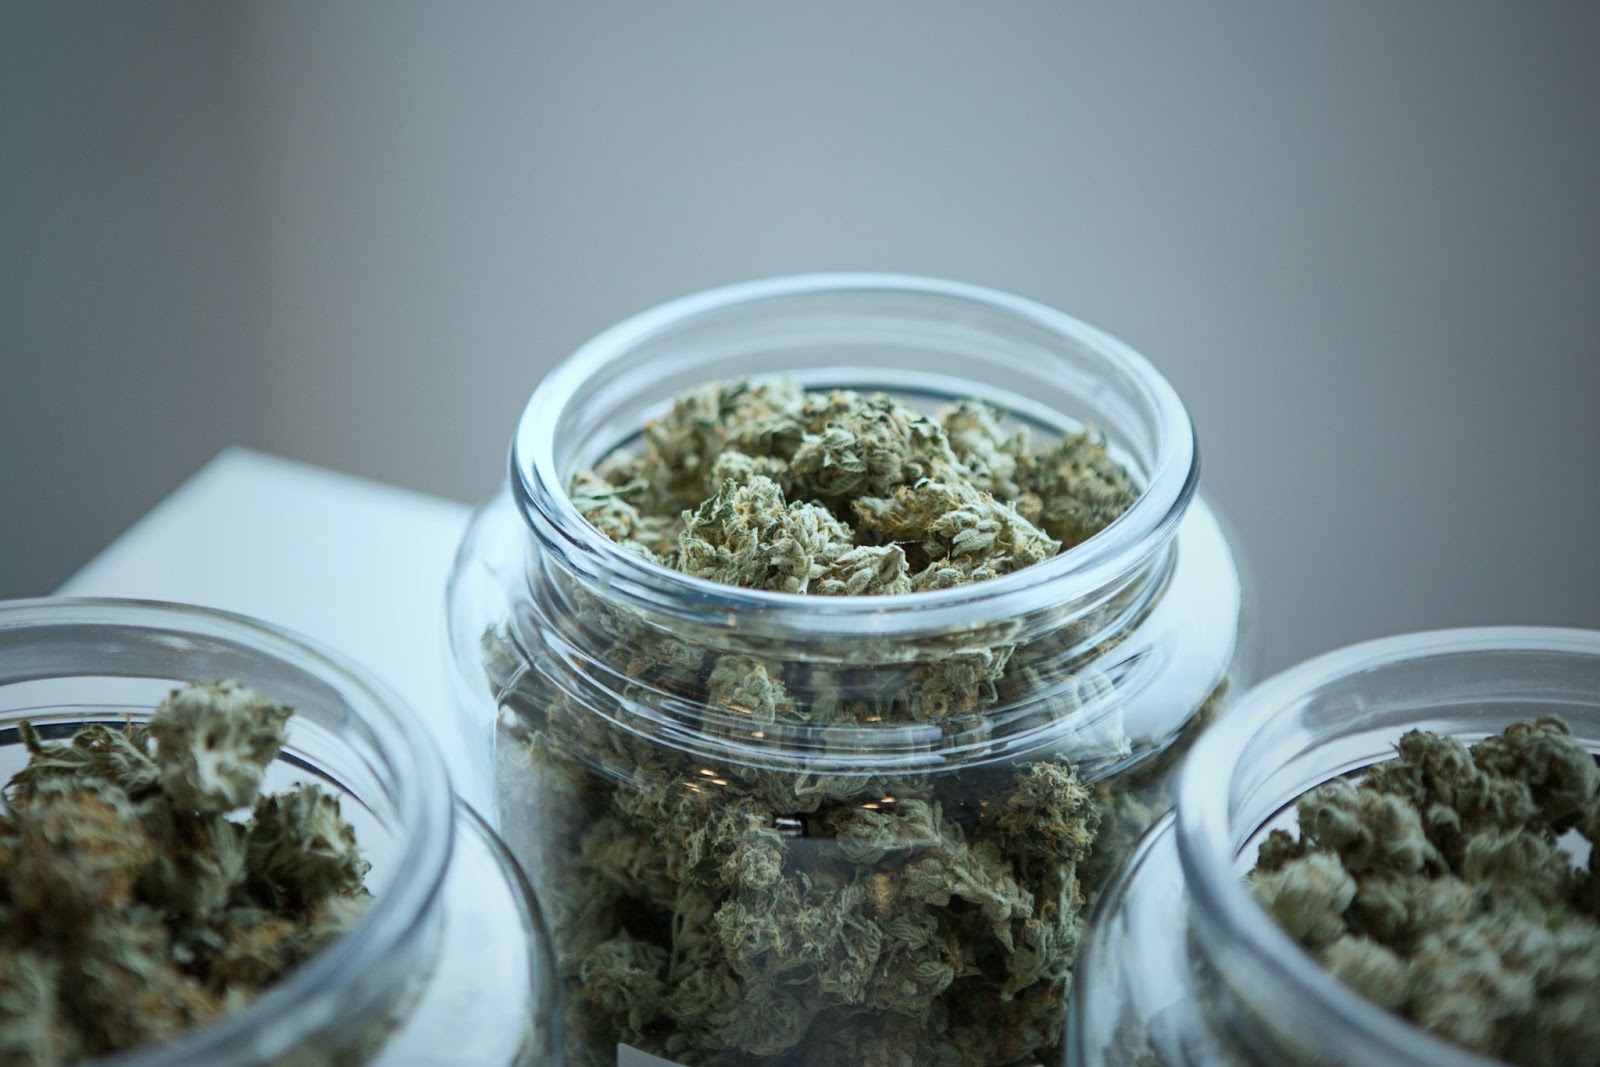
Curing your buds increases potency and terpene profile, and prevents the growth of mold and bacteria. Properly cured flower will also have a longer shelf life.
The process takes at least two weeks, but taking the extra time to cure your flower will result in a superior final product.
Mason jars are the preferred storage devices among many growers due to the lack of excessive plastic closing mechanisms that can allow bacteria to compromise the purity of the buds.
Mason jars must be opened daily to let out moisture for the first month. Alternatives include humidity packs like those sold by Bodeva.
Step 11: Roll it Up
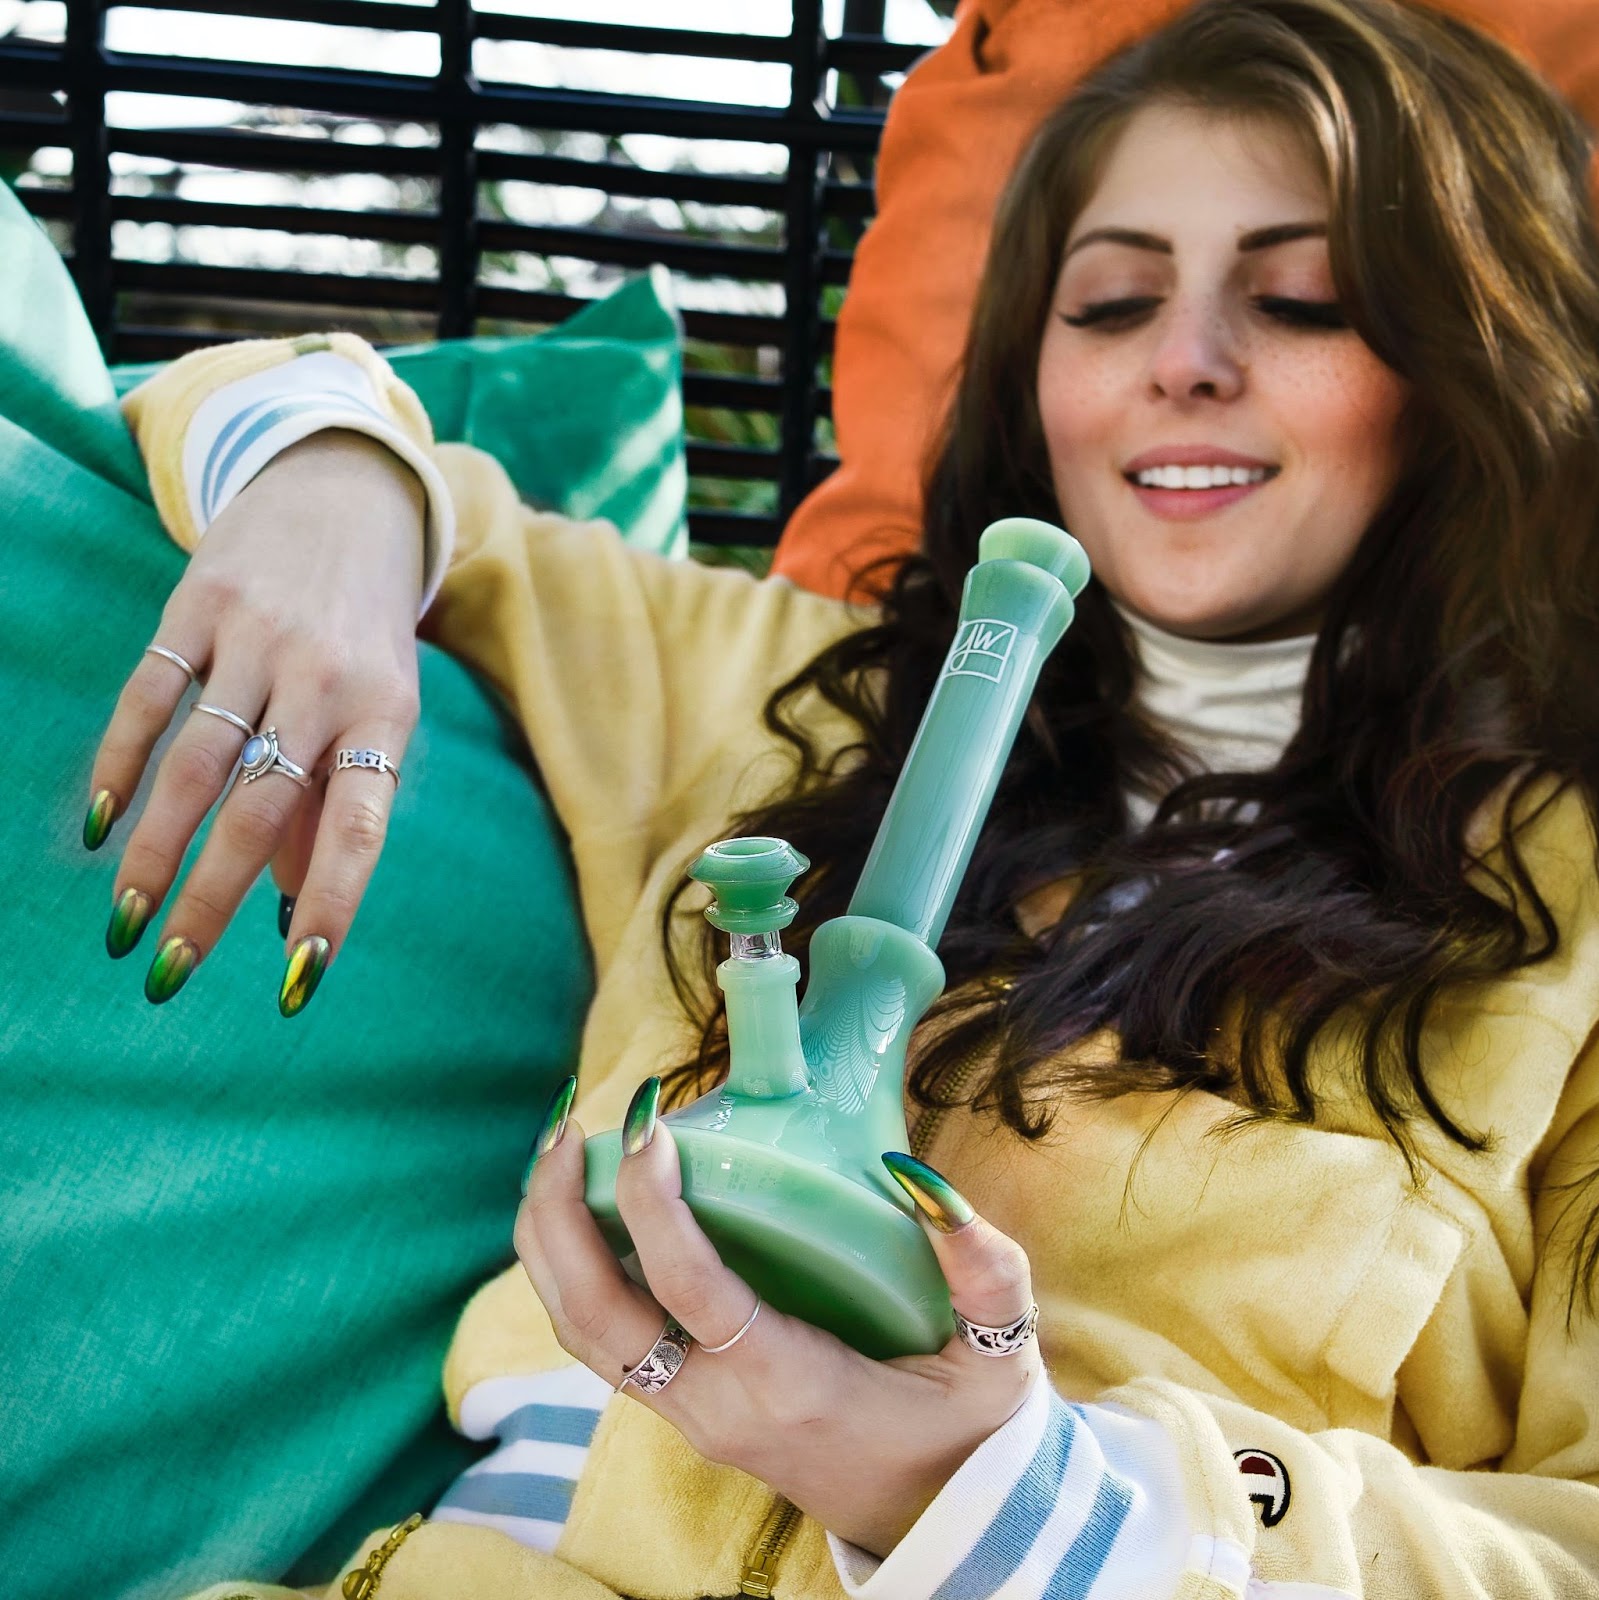
Your patience and attention to detail have paid off. You now have a harvest rivaling that of a top-tier dispensary for a quarter of the cost. Enjoy the fruits of your labor with your 420-friendly circle.